

Aluminum Cases Exporter Tips for Evaluating Quality and Durability
2026-09-29
If you’ve ever unpacked a shipment of aluminum cases only to find dented corners, misaligned latches, or coating that flakes at the first scratch, you already know why quality checks matter more than supplier promises. The real challenge isn’t finding an aluminum case exporter—it’s finding one that doesn’t cut corners on materials, hinges, or finish. That’s where Peak Fasten steps in. Below, we break down the practical, field-tested criteria we use to evaluate durability, so you can spot a worthy case before it leaves the factory floor.
Check the Aluminum Grade and Temper Before You Trust the Spec Sheet
Spec sheets have a habit of looking authoritative, but a quick glance at the aluminum grade and temper can spare you a world of trouble. A 6061-T6 extrusion behaves nothing like a 6061-O sheet, yet suppliers sometimes ship inventory with outdated or mismatched paperwork. If your design relies on a specific yield strength or bend radius, assuming the lot matches the datasheet is a gamble you don't need to take.
The temper designation is where many mix-ups hide. T4, T5, T6, H32, H112—these suffixes dictate how the metal was heat-treated or cold-worked, and they change machinability, corrosion resistance, and weldability in ways the base alloy number alone won't reveal. A batch of 5052-H32 might form perfectly, while the same alloy in H38 could crack on the press brake. Even within a single purchase order, coils from different runs can carry different tempers if the warehouse isn't careful.
Before you cut, weld, or stamp anything, take five minutes to verify the stamping on the material itself. Read the mill markings, compare them against the cert, and if something feels off—like a missing heat number or a temper that isn't listed for your alloy—put the job on hold until the supplier clarifies. The cost of a wrong temper shows up later in scrapped parts, field failures, or a call from a confused machinist. Checking now beats explaining later.
Look Closely at Weld Seams for Hairline Cracks or Uneven Beads
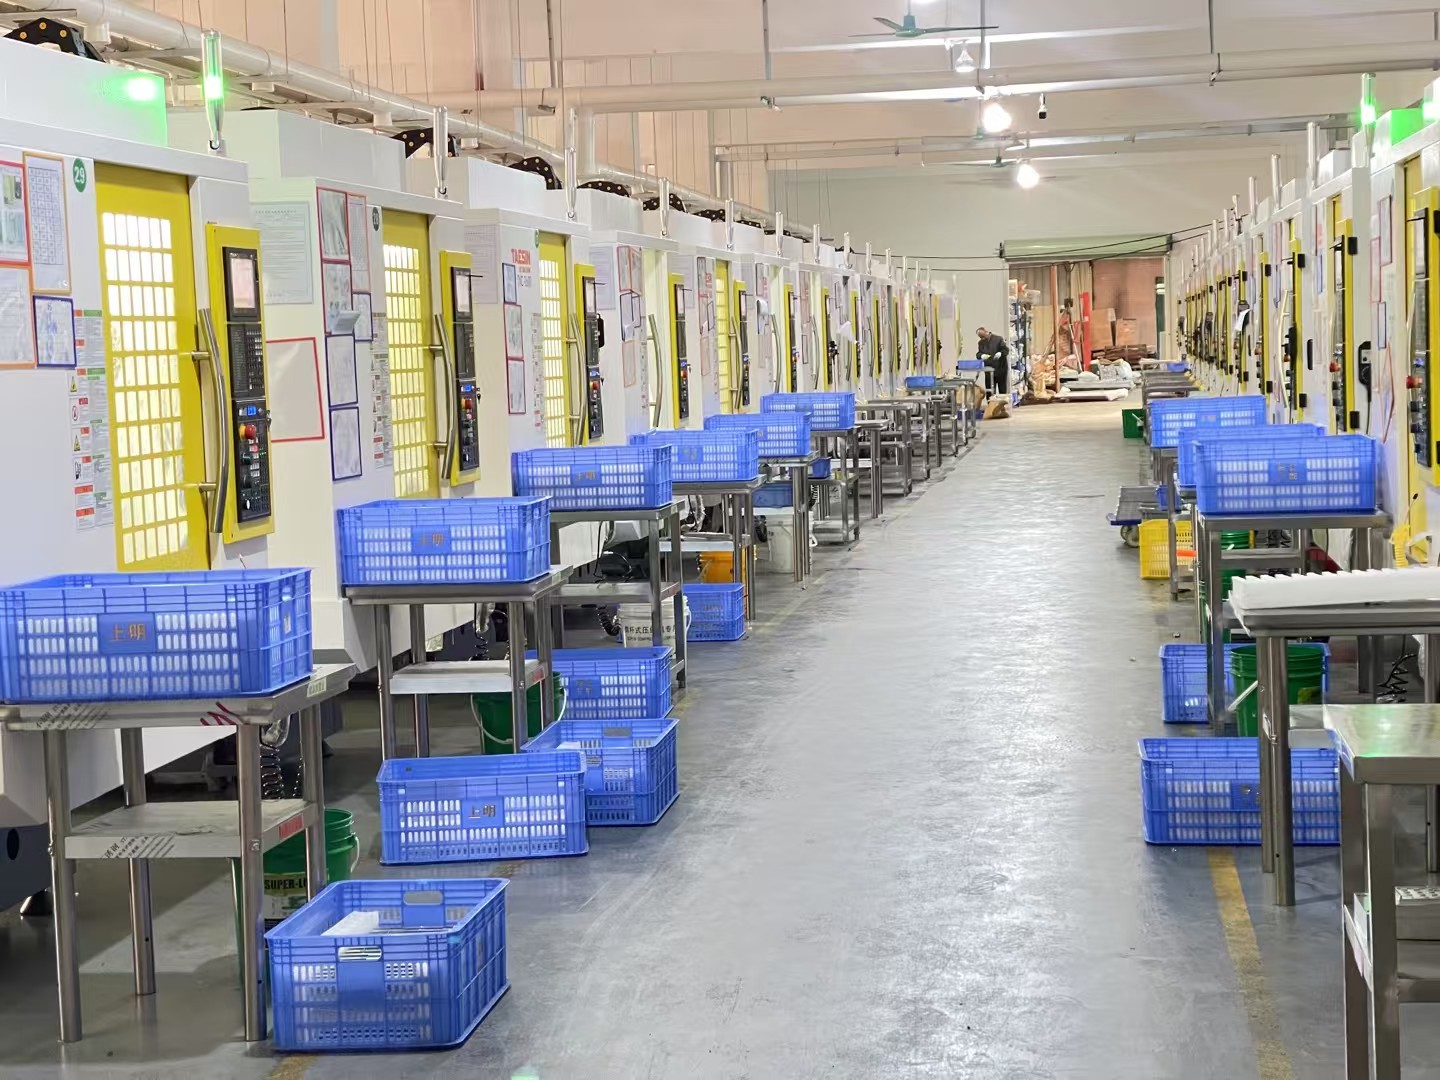
A weld that looks smooth on the surface can hide tiny fissures that only become obvious under close inspection. Hairline cracks often start at the edges where the bead meets the base metal, spreading inward as stress concentrates. Run your finger along the seam—if you feel a slight ridge or a gritty texture, that's a sign the bead didn't fuse evenly. Even a hair-thin gap can let moisture seep in, leading to rust or structural failure down the line.
Uneven beads are equally telling. A proper weld should have a consistent ripple pattern, like stacked coins laid at a slight angle. If the bead suddenly widens, narrows, or looks lopsided, the travel speed or heat input likely fluctuated mid-pass. This creates weak spots where the throat thickness is thinner than it appears. Shine a bright light at a low angle across the seam—shadows will exaggerate any lumps or undercut, making it easier to spot irregularities that a straight-on glance would miss.
Don't ignore small porosity or a bead that sits too high or too flat. Those tiny pinholes can connect beneath the surface, forming channels for corrosion. Compare both sides of the weld if accessible: a seam that looks fine on top but shows incomplete penetration underneath is a classic red flag. Take your time, use a magnifying glass if needed, and trust what the metal tells you—weld defects rarely announce themselves loudly. They demand a patient, skeptical eye.
Scratch, Bend, and Salt-Spray the Finish Yourself
If you really want to know whether a finish will hold up, stop relying on the label and start abusing a sample. Take a leftover piece of the same wood or metal, apply the coating exactly as you plan to on the real project, and let it cure fully. Then go at it with a coin, a key, or the back of a screwdriver. A finish that’s going to survive daily life should shrug off light surface marks without tearing or flaking at the edge of the scratch.
Bending a finished panel tells you a lot about flexibility and adhesion. Clamp a thin offcut in a vise and slowly flex it until the substrate itself starts to complain. If the coating cracks into a spiderweb pattern well before the material does, it’s too brittle for anything that moves—think chair seats, door panels, or outdoor trim. A good finish should stay locked to the surface, even when the wood or metal underneath is strained well past what it would normally see.
For outdoor pieces, the real test is salt spray, not just a splash of tap water. Mix up a strong saltwater solution, mist the sample once or twice a day for a week, and let it sit somewhere warm. Watch for rust bleeding through on metal, or cloudy white spots under the film on wood. If the finish still looks clean after seven days of that treatment, it has a decent chance of surviving a few seasons outside.
Give Latches, Hinges, and Handles a Rough Twist Test
A quick but revealing way to gauge the durability of any cabinet or gate hardware is to grab each latch, hinge, and handle and twist it hard in directions it wasn’t meant to move. You’re not trying to break anything on purpose, but you want to mimic years of rough use in a few seconds. If the metal flexes too much, the mounting screws shift, or the mechanism binds, that’s a clear sign the piece won’t hold up under daily abuse.
For latches, pull the lever or knob while wiggling it side to side and up and down. A well-built latch should stay firm with only the intended play. Hinges are a bit trickier—open the door or lid partway and push down on the free edge while also pushing sideways. Listen for creaks, feel for grind, and watch the pivot points for wobble. Handles usually get the most torque abuse, so grip them as if you were trying to rip them off the panel. Any looseness, cracking finish, or exposed fasteners after a few seconds of force means it’s a weak point.
Don’t skip this test just because a piece looks solid on the surface. Many budget hardware items use thin stampings or soft alloys that feel fine when new but quickly deform under continuous twisting. If it survives your rough twist without complaint, you can be reasonably confident it will still operate smoothly a few years down the road. If not, move on to something sturdier without a second thought.
Demand Real Drop and Vibration Reports, Not Just Words
When a supplier claims their packaging can survive a five-foot fall or hours of road vibration, ask to see the raw test data. Not a summary slide, not a marketing brochure, but the actual acceleration plots, impact force curves, and failure timestamps. Too many teams accept verbal assurances only to find cracked enclosures and detached components after the first real shipment.
A credible drop and vibration report should specify the test standard used, the exact mounting method, and the number of samples tested. If the supplier hesitates or offers only a "pass/fail" checkbox, treat that as a red flag. You need to see whether the product survived with margin or barely limped through. Hidden damage like solder joint fatigue or loose connectors often shows up weeks later, long after the invoice is paid.
Make the report a contractual deliverable before production begins. Review it line by line with your own engineers, and if something looks too clean, request the original data files. Real testing leaves traces: a dented corner on a prototype, a slight shift in resonance frequency, or a batch that failed and was retested. Those details tell you far more than a polished certificate ever will.
Watch How the Exporter Reacts to Custom Foam and Cutout Requests
When a buyer sends over a sketch for a foam insert with oddly shaped pockets, most exporters will nod politely and then start explaining why it can’t be done. Not this one. The real test happens the moment you ask for a cutout that doesn’t match any standard die. Watch how the response shifts: instead of a list of limitations, you get a short video of a prototype being cut within 48 hours. That’s the kind of reaction that separates a trader from a maker.
Custom requests often reveal what a supplier is actually built on. One exporter might quote a two-week tooling fee and then go silent for a month. Another will send a phone photo of a rough test piece, followed by three questions about edge tolerance and insert density. The difference isn’t just speed—it’s whether the team treats your odd shape as a problem or as the whole point of the job.
If you want to see what’s underneath the polished catalog, ask for something irregular. An L-shaped cutout, a recessed finger pull, a sloped base. Watch for the moment the response stops being sales talk and starts being engineering. That’s the signal the exporter has already handled worse requests before breakfast.
FAQ
Start with the raw material. Ask for the alloy grade and thickness; a sturdy case usually uses 5052 or 6061 aluminum at around 2-3mm, not flimsy foil-like sheet.
Look closely at the weld seams—they should be smooth, uniform, and free of cracks or pits. A quick tap test along the joints can reveal hollow spots that suggest poor penetration.
Yes, press firmly on the corners and edges; they shouldn't flex much. Lift the case by one handle when empty—if it twists or creaks, that's a warning sign. Also try closing the lid and listen for a solid, even seal.
Anodizing or powder coating should look even, with no thin patches or orange peel texture. Run your fingernail across the surface; a quality finish won't scratch off easily. Also check inside corners for missed coverage.
They're useful but not the whole story. Look for ISO 9001 and any industry-specific standards, but also ask for sample reports or third-party test results. A trustworthy exporter won't hesitate to share them.
Very important—they keep out moisture and dust that cause corrosion. Squeeze the gasket material; it should be resilient, not brittle. Close the case on a dollar bill and try to pull it out; if it slides easily all around, the seal is weak.
Request details on batch testing, defect rates, and how they handle rework. If they can't explain their inspection steps clearly or dodge the question, that's a red flag.
Ask for drop test or vibration test data. If they don't have it, simulate a small drop from waist height onto a hard floor—hinges should stay aligned, locks should stay latched, and the body shouldn't dent deeply.
Conclusion
A spec sheet is just a starting point—real confidence comes from verifying the aluminum grade and temper yourself. If an exporter can't tell you whether the case uses 6061-T6 or something softer, walk away. Weld seams are another giveaway: run your finger along the joints and look for hairline cracks or lumpy, uneven beads. A clean, consistent weld usually means the shop cares about process control. Don't stop there. Take a key or a coin to the finish, flex a panel slightly, and ask about salt-spray test hours. Powder coat or anodizing that chips, blisters, or fades early won't survive real shipping abuse.
Hardware gets ignored until it fails. Grab the latches, hinges, and handles and twist them hard—loose rivets or flimsy metal will show up fast. Also demand actual drop and vibration test reports from the exporter, not a promise that "it's been tested." If they hesitate or send a one-page marketing blurb, that's a red flag. Finally, watch how they respond to custom foam or cutout requests. A supplier who pushes back on small layout changes or charges outrageous tooling fees probably won't be flexible when you need a design fix later. Quality is in the details, and a good exporter will prove it rather than just claim it.
Contact Us
Contact Person: Mason Lv
Email: [email protected]
Tel/WhatsApp: +86 13027998452
Website: https://www.peakfastentech.com