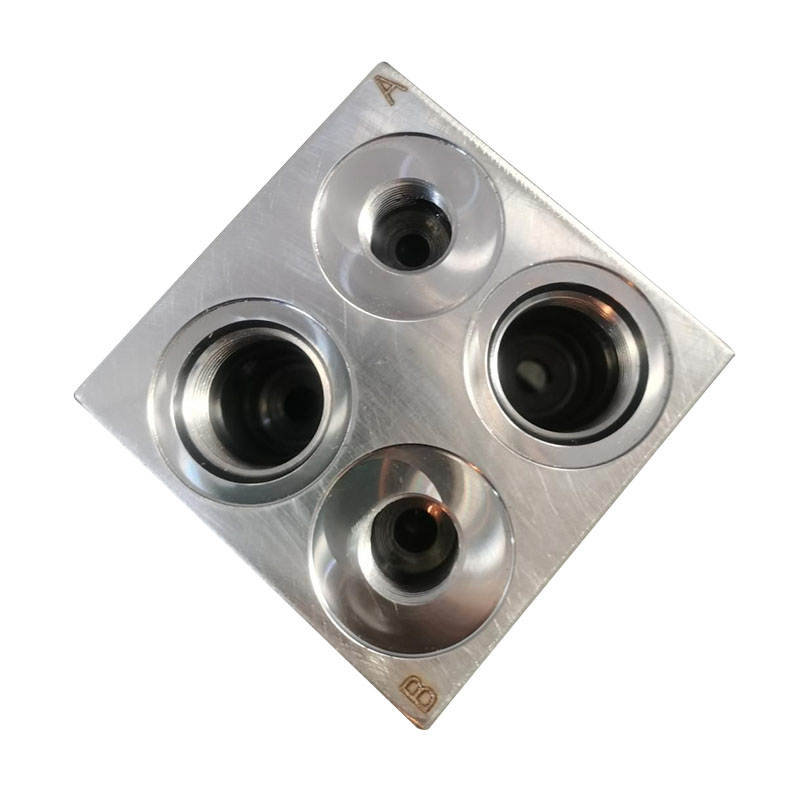
How do you adjust the pressure on a hydraulic valve block?
2025-03-20
Adjusting the pressure on a hydraulic valve block involves a systematic process to ensure proper control of hydraulic flow and pressure. Follow these steps:
1. Identify the Pressure Control Valve:
- Locate the pressure relief valve or pressure control valve on the hydraulic valve block. It is typically equipped with an adjustment screw, knob, or hex bolt.
2. Prepare the System:
- Ensure the hydraulic system is turned off.
- Release any residual pressure using a pressure relief mechanism or by slowly opening a downstream valve.
- Wear appropriate personal protective equipment (PPE) like gloves and safety glasses.
3. Connect a Pressure Gauge:
- Attach a hydraulic pressure gauge to the test port or the relevant part of the system to monitor the current pressure.

4. Adjust the Pressure:
- Start the hydraulic system and let it warm up to its operating temperature.
- Turn the adjustment screw or knob slowly to increase or decrease the pressure.
- Clockwise typically increases pressure.
- Counterclockwise typically decreases pressure.
- Make small adjustments and monitor the gauge closely.
5. Verify and Test:
- After achieving the desired pressure, operate the system under load conditions to ensure proper performance.
- Check for leaks or abnormal sounds that might indicate issues.
6. Lock the Adjustment:
- Some valves have a locking mechanism, like a jam nut or cap. Secure the adjustment in place to prevent accidental changes.
7. Recheck the Pressure:
- Perform a final check to confirm the pressure remains stable during operation.
By following these steps carefully, you can ensure safe and accurate pressure adjustment on a hydraulic valve block.


