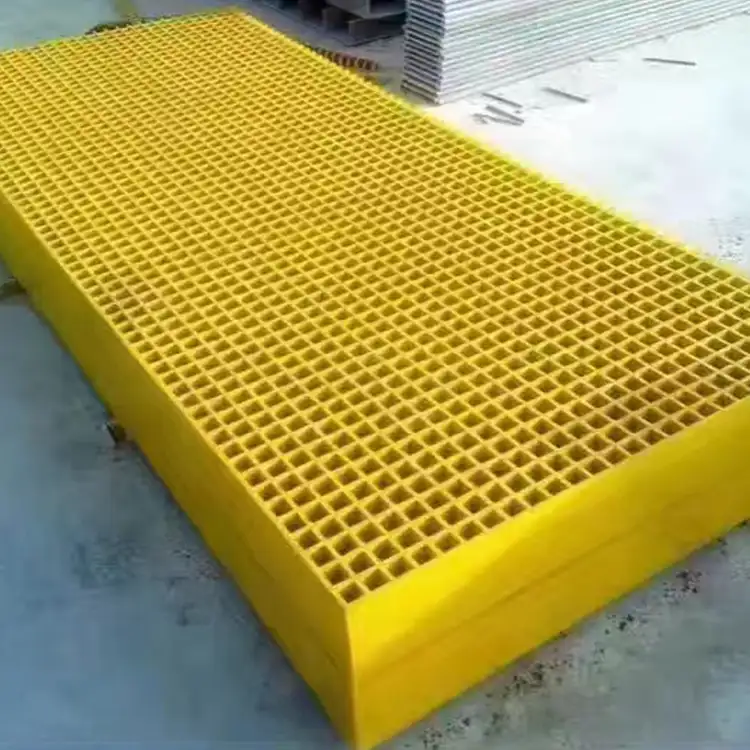
How do you install FRP grating?
2024-06-11
Installing Fiber Reinforced Polymer (FRP) grating involves several steps to ensure a secure, safe, and durable application. Here's a detailed guide on how to install FRP grating:

Tools and Materials Needed
- FRP grating panels
- Measuring tape
- Cutting tools (circular saw with diamond blade or carbide-tipped blade)
- Safety equipment (gloves, safety glasses, dust mask)
- Fasteners (clips, bolts, or other specified hardware)
- Drill with appropriate bits
- Support structure (e.g., beams, angles, or frames)
- Level
- Clamps
Installation Steps
1. Planning and Preparation
- Site Inspection: Ensure the site is clear and free of obstructions. Verify that the support structure is sound and properly aligned.
- Measurements: Measure the area where the FRP grating will be installed. Confirm dimensions and layout to minimize waste and ensure accurate cuts.
2. Cutting the FRP Grating
- Marking: Use a measuring tape and marker to outline the cuts on the FRP grating panel.
- Cutting: Use a circular saw with a diamond or carbide-tipped blade to cut the grating. Ensure you wear safety equipment to protect against dust and debris. Cut slowly to prevent splintering and ensure a clean edge.
3. Preparing the Support Structure
- Alignment: Ensure that the support structure (beams, angles, or frames) is level and properly aligned. This structure must provide adequate support for the FRP grating.
- Spacing: Verify the spacing of supports. The distance between supports should not exceed the load-bearing capacity of the FRP grating. Refer to manufacturer guidelines for specific spacing requirements.
4. Placing the FRP Grating
- Positioning: Lay the cut FRP grating panels onto the support structure. Use clamps if necessary to hold the grating in place temporarily.
- Alignment: Ensure the grating panels are properly aligned and square with the support structure. Check for any gaps or misalignments.
5. Securing the FRP Grating
- Fasteners: Select appropriate fasteners as recommended by the manufacturer. Common types include M-clips, C-clips, or G-clips.
- Installation of Fasteners: Drill holes for the fasteners through the FRP grating and into the support structure. Install the clips or bolts and tighten them securely. Fasteners should be placed at regular intervals, typically at each corner and along the edges, to prevent movement and provide stability.
- Checking Fasteners: Ensure all fasteners are tightened and secure, but avoid over-tightening to prevent damage to the FRP material.
6. Final Inspection
- Stability Check: Walk over the installed FRP grating to check for any movement or instability. Ensure that all panels are securely fastened.
- Alignment and Leveling: Recheck the alignment and level of the grating. Make any necessary adjustments.
- Cleaning: Remove any debris, dust, or cut-off pieces from the installation site.
Tips for Successful Installation
- Safety First: Always wear appropriate safety gear, including gloves, safety glasses, and a dust mask.
- Precision Cutting: Use the right tools and blades to ensure clean cuts and avoid splintering.
- Manufacturer Guidelines: Follow the specific installation guidelines provided by the FRP grating manufacturer, especially regarding support spacing and fastener types.
- Regular Maintenance: Periodically check the fasteners and overall condition of the FRP grating to ensure long-term performance and safety.
Conclusion
Installing FRP grating is a straightforward process that involves careful planning, precise cutting, and secure fastening. By following these steps and adhering to manufacturer recommendations, you can ensure a successful installation that provides durable, safe, and effective flooring or decking.


